Duct Test Preparations
Before beginning a leakage test the TAB technician should review the specifications. They include standards and requirements for leakage testing.
On a large duct system, leakage testing is done in sections. This is because the allowable leakage rate in CFM may be greater than the capacity of the test fan. For example, if the leakage rate is specified as 2% on a system that has a total of 20,000 CFM, the allowable leakage rate is 400 CFM:
The size of the test sections should be suitable for the test equipment. Sections are identified according to the specifications. The engineer, the contractor, the owner's representative, or the technician may be responsible to decide which duct section to test.
A witness for the test procedure may be required by the leakage test specifications. Be sure that arrangements are made to have the witness at the scheduled time.
Make sure that the allowable leakage of the test section does not exceed the capacity of the test equipment provided. Make sure that the correct electrical power source is available.
Enter preliminary data on the report forms that must be submitted when the testing is completed. A sample of such a report form is shown in Forms vary, and the technician must become familiar with the forms used by the TAB contractor. The information to be recorded may vary depending upon the type of test equipment being used.
A run of duct should be tested as soon as possible. The test should be done before the duct is insulated and before the duct is inaccessible. If testing is done early, it provides feedback for the installer. If the first section tested has an unacceptable leakage rate, it means that more care must be given when sealing the rest of the duct runs.
The basic process of a leakage test is to pressurize the duct section to be tested to the specified test pressure, using a test fan. The pressure differential is measured across the orifice plate in a specially designed orifice tube. The SP (static pressure) is also measured in the duct that is being tested. The leakage rate is determined from a calibration chart for the specific orifice tube being used.
These items are often mounted on a cart so that they can be moved easily. The capacity of the test kit must be appropriate for the section of ductwork to be tested. See the manufacturer's information when choosing a test kit to use. A test kit can also be shop-fabricated. Refer to the test specifications to find the test pressure and the allowable leakage.
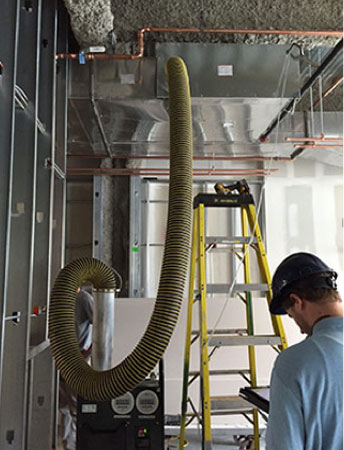
Seal off all duct openings except the one that connects the test equipment to the duct section being tested. Openings can be effectively sealed with items such as inflated balloons, plastic containers, or metal caps. If a manufacturer's duct connectors are used, it may be possible to disconnect the joint, slip in a sheet metal plate or other suitable leak-proof material to block the duct, and then reconnect the joint. Whatever method is used, it must seal all outlets and blank off sections completely.
Connect the test fan outlet to the inlet side of the orifice tube.
Start the fan on low speed. Gradually open the inlet. Look for the change in the reading of the manometer connected to the duct. When it reaches the specified test pressure, allow the test fan to continue to run to make sure the pressure is stabilized. When the pressure is stable, the airflow from the fan equals the air leaking out of the section of duct being tested. The pressure in the test section of the duct must be at the specified test SP.
The technician may choose to monitor the pressure at the far end of the section of the duct being tested to verify that no dampers or other obstructions are impeding the airflow.